
Network Discovery
Network Discovery scans a range of your network, finds the devices that are actually there, makes a best guess at what each one is, and lets you add them to your inventory in a few clicks. It’s the fastest way to onboard a new site or fill in gaps in your existing inventory.
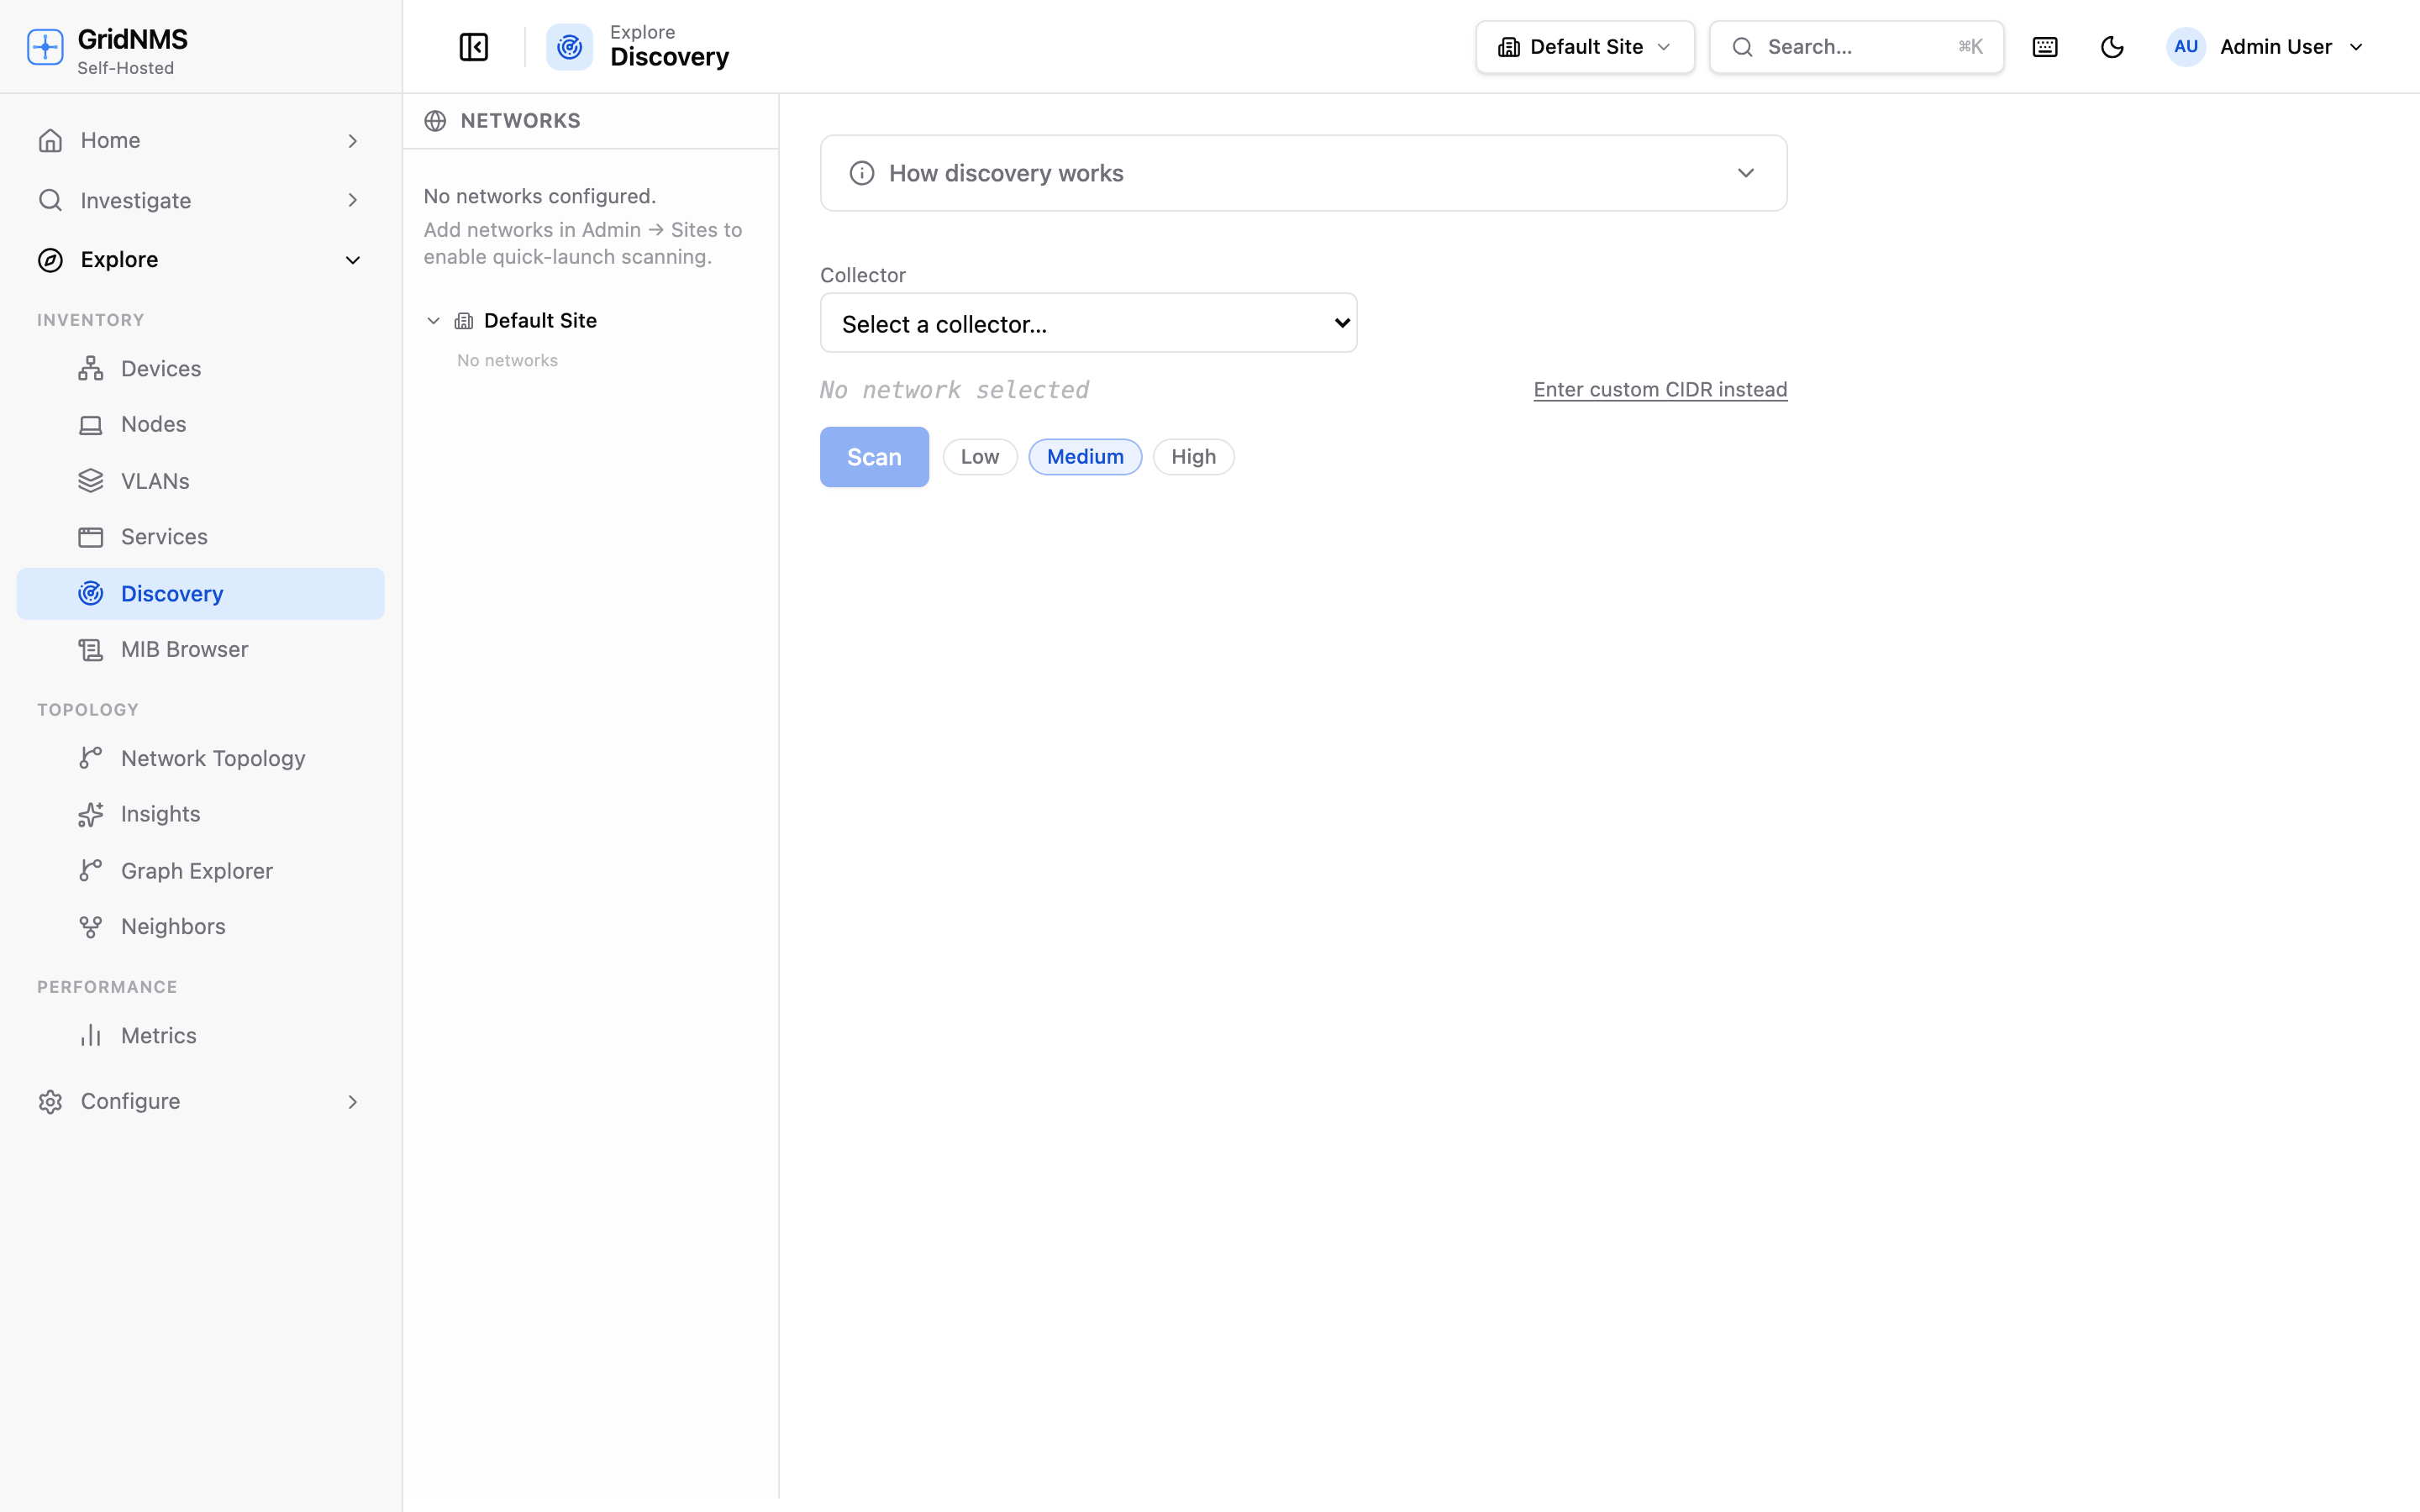 Network Discovery: pick the collector and what to scan, choose how thorough the probe should be, and start. Results stream in below as hosts answer.
What you can scan
Section titled “What you can scan”Open Discovery from the navigation. There are two ways to choose what gets scanned, and both stay inside the networks the collector is already allowed to reach:
| What you pick | How | Scans |
|---|---|---|
| A configured network | The guided flow — pick one of your networks and the collector that serves it, and the range fills in for you. | The whole network. |
| One host | Choose Enter a single host instead and type a single address, either 192.0.2.12 or 192.0.2.12/32. |
That one address. |
Then pick the collector that should run the scan and start it.
A scan always runs from a collector, so the collector you pick has to be allowed to reach the target. For a single host, GridNMS checks that the address falls inside one of that collector’s assigned networks before the scan starts — if it doesn’t, the scan is refused rather than run against a network the collector shouldn’t touch. See Networks & Sites to assign one.
What discovery probes
Section titled “What discovery probes”For each address in range, GridNMS checks a series of signals to decide whether something is there and what it might be:
- Ping (ICMP) — is the host alive and reachable?
- Common TCP ports — are well-known ports open (for example SSH, HTTPS, SNMP-adjacent management ports)?
- Service probes — lightweight checks against responding ports to identify the service.
- Reverse DNS — does the address resolve to a hostname? If so, that name is suggested for the device.
The combination of these signals lets discovery distinguish a live router from an unused address, and a switch from a server.
Aggressiveness profiles
Section titled “Aggressiveness profiles”Discovery offers three profiles that trade thoroughness against speed and network load. Pick one with the Low / Medium / High selector before scanning.
| Profile | What it does | When to use it |
|---|---|---|
| Low | Minimal probing — mostly ping and a few key ports. Fast and gentle. | Large ranges, sensitive networks, or a quick “what’s alive?” sweep. |
| Medium | A balanced set of port and service probes. The default for most scans. | Day-to-day discovery of a subnet or site. |
| High | The most thorough probing across more ports and services. Slower and chattier. | A new site you’re onboarding from scratch, where you want the richest fingerprints. |
If you need the same non-default probing behavior repeatedly, save it as a Probe Profile and pick it from the dropdown next to the scanner instead of the Low/Medium/High buttons — selecting a saved profile overrides the aggressiveness selector for that scan.
Watching progress
Section titled “Watching progress”Once a scan starts, the page shows live progress — how many addresses have been checked, how many responded, and which devices have been fingerprinted so far. Results stream in as they’re found, so you don’t have to wait for the whole range to finish before reviewing what’s already been discovered.
You can stop a scan early if you’ve already found what you were looking for.
Device fingerprinting
Section titled “Device fingerprinting”For each responding host, discovery makes a best guess at the vendor and device type based on the signals it gathered. These guesses pre-fill the device’s suggested class (Router, Switch, Firewall, Server, and so on) and, where reverse DNS resolved, its suggested name.
Reviewing and adding results
Section titled “Reviewing and adding results”When the scan finishes (or as results arrive), each discovered host appears in a results table with its address, suggested name, suggested class, and the signals that were found. GridNMS marks which hosts are new (not yet in your inventory) versus already known.
To bring new hosts into inventory:
- Review the results and uncheck anything you don’t want to add (unused addresses, third-party gear you don’t manage, and so on).
- Adjust the suggested class or name for any host if the fingerprint guessed wrong.
- Assign the selected hosts to a site and, if needed, a collector.
- Click Add selected to create the devices in bulk.
The new devices appear immediately in your device list, and GridNMS begins monitoring them shortly after — though you may still need to add SNMP or SSH credentials before they report detailed metrics.
A typical workflow
Section titled “A typical workflow”- Enter the subnet for a new site, e.g.
198.51.100.0/24. - Choose the collector at that site and set the profile to High for the first sweep.
- Start the scan and watch results stream in.
- Review the fingerprints, correct any obvious mis-classifications, and uncheck addresses you don’t manage.
- Assign everything to the correct site and bulk-add.
- Add credentials and let monitoring fill in the detail.
Where to go next
Section titled “Where to go next”- Manage what you discovered in Devices & Inventory.
- See how the new devices connect in Graph Explorer.
- Learn how collectors reach your networks in Collectors.
docs built 2026-09-26 · 195c6d00